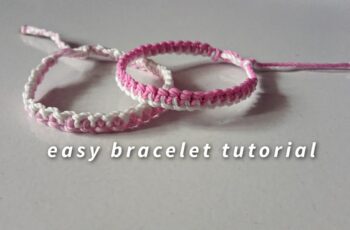
Add a touch of spring to your wrist with this easy and adorable daisy (or flower) bracelet! This project is perfect for beginners and experienced crafters alike. It’s a great way to use up leftover embroidery floss, and the result is a sweet, eye-catching accessory you’ll love to wear.
What You’ll Need:
- Embroidery Floss: Two colors that complement each other. For example: green and white, pink and green, or any combination you like.
- Scissors
- Tape or a Safety Pin: To secure your bracelet while you work.
Getting Started
- Cut the Floss: Cut 4 strands of floss for the flower portion (white) and 2 strands for the stems/connecting portions (green). Cut the strands about 40 inches each.
- Tie a Knot: Gather all the strands together and tie a simple overhand knot at one end. Leave a few inches of floss above the knot for tying later.
- Securing: Use tape to secure it on the table.
Creating the Daisy Knots
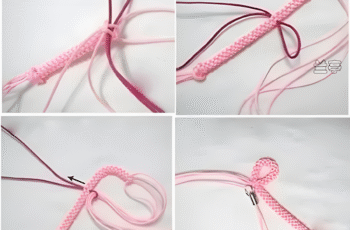
- Flower knots: Take two white strands and make an overhand knot with the green strands in the middle of the knot. This creates the flower.
- Stems: After the flower is completed, start working on the stem portion using the green strands.
- Twist: Twist the green strands together to prepare for the next flower.
- Continue: Repeat steps 1-3 to create the whole bracelet.
Finishing the Bracelet
- Measure: Make sure it fits before you complete the bracelet.
- Tie: Make a simple knot at the end.
Tips for Success
- Consistent Tension: Keeping the tension consistent throughout the knotting process will create a more uniform and professional-looking bracelet.
- Color Coordination: Experiment with different color combinations to create unique and personalized bracelets.
- Practice Makes Perfect: The knotting technique may take a little practice to master, so don’t be discouraged if your first attempt isn’t perfect.
This daisy bracelet is a fun and easy project that’s perfect for adding a touch of floral flair to your style. So gather your supplies, follow these simple steps, and create a charming accessory you’ll love to wear or share as a thoughtful handmade gift. Happy crafting!

